Ultimate Christmas Light Decorator’s Guide
Make Your House Look Like a Professional Christmas Light Installer Did All the Work.
I don’t know about you, but there is nothing I look forward to more than stringing up the lights on my house for Christmas. It took me a number of years before I finally developed the techniques that would help make my home look like a high-end lighting installer came to decorate.
This article is for the people who use outdoor Christmas lighting as a means of coming together as a family, building memories, and drinking copious amounts hot chocolate and cider. Follow these instructions for show stopping displays.
Begin by quickly sketching out a plan of the area you want to light. I’m not talking scaled drawings or anything (although you can if you want), I’m talking about selecting the features you want to focus on so you can start planning accordingly. This should be a side profile view of your home, just real basic.
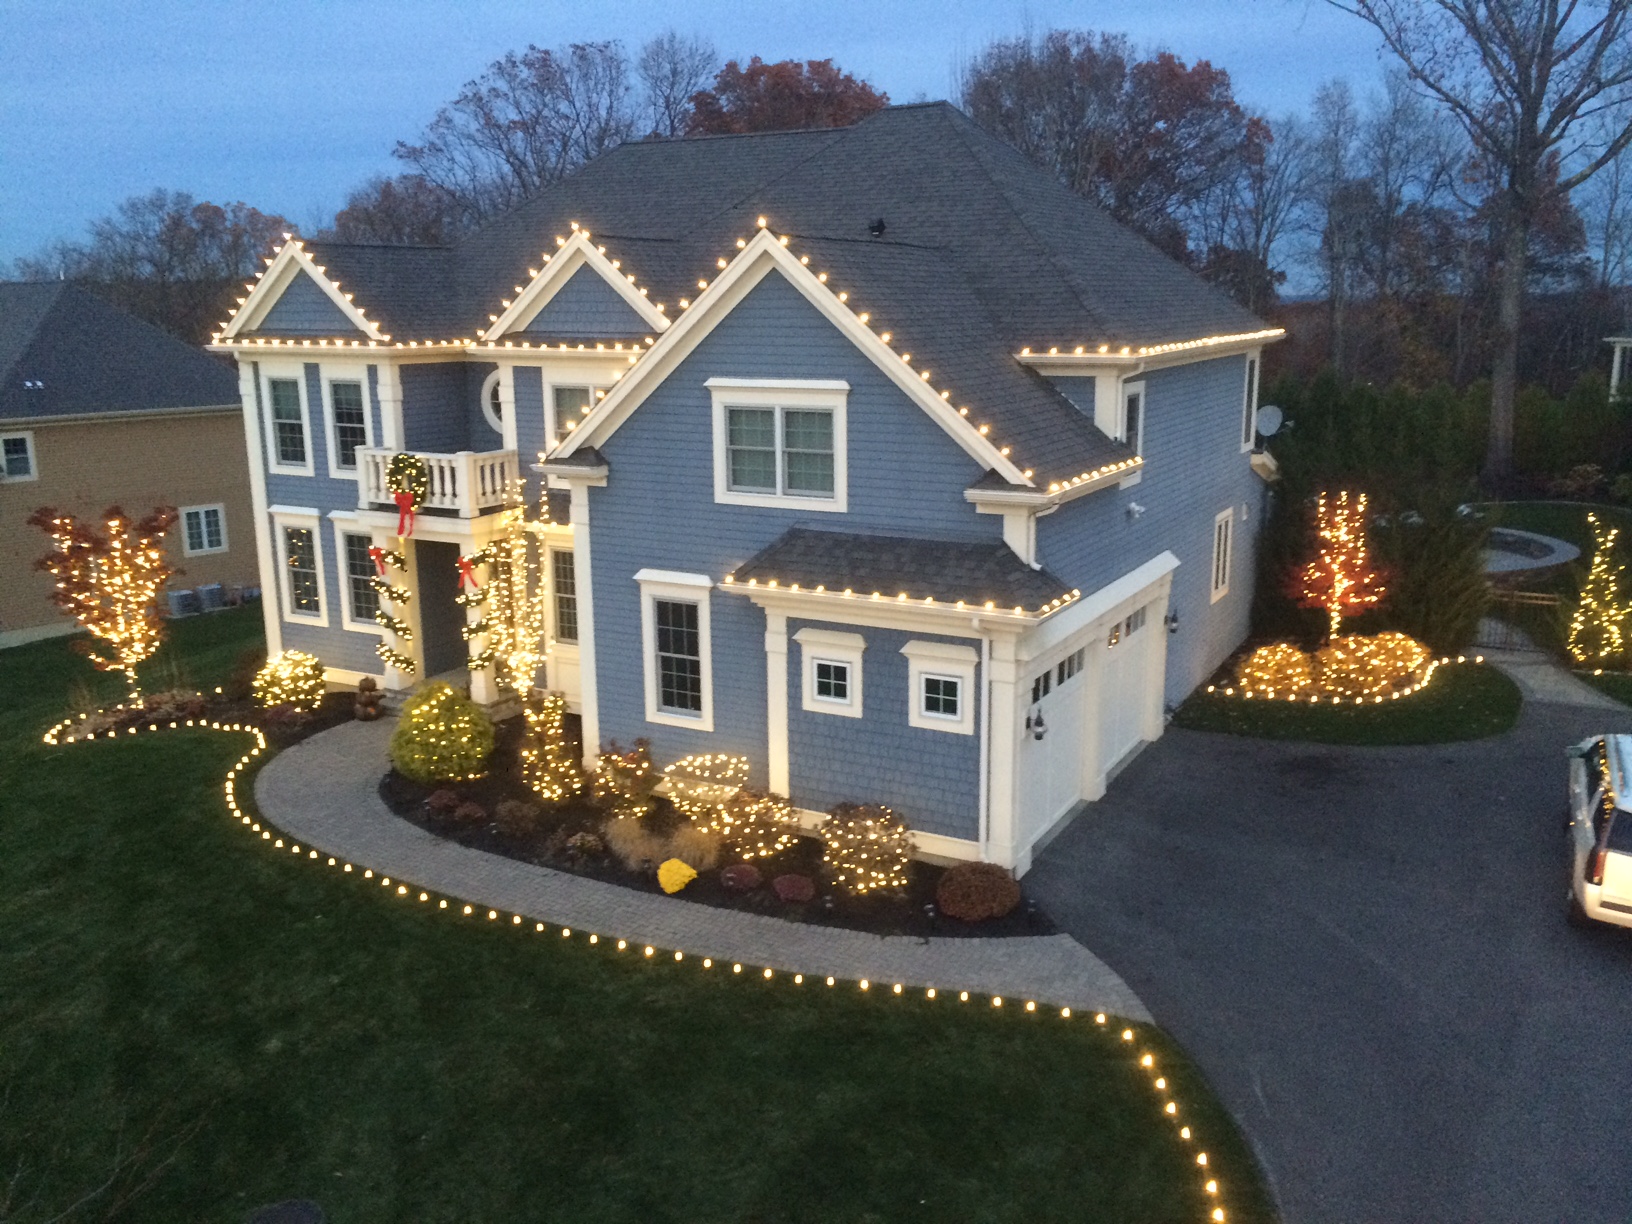
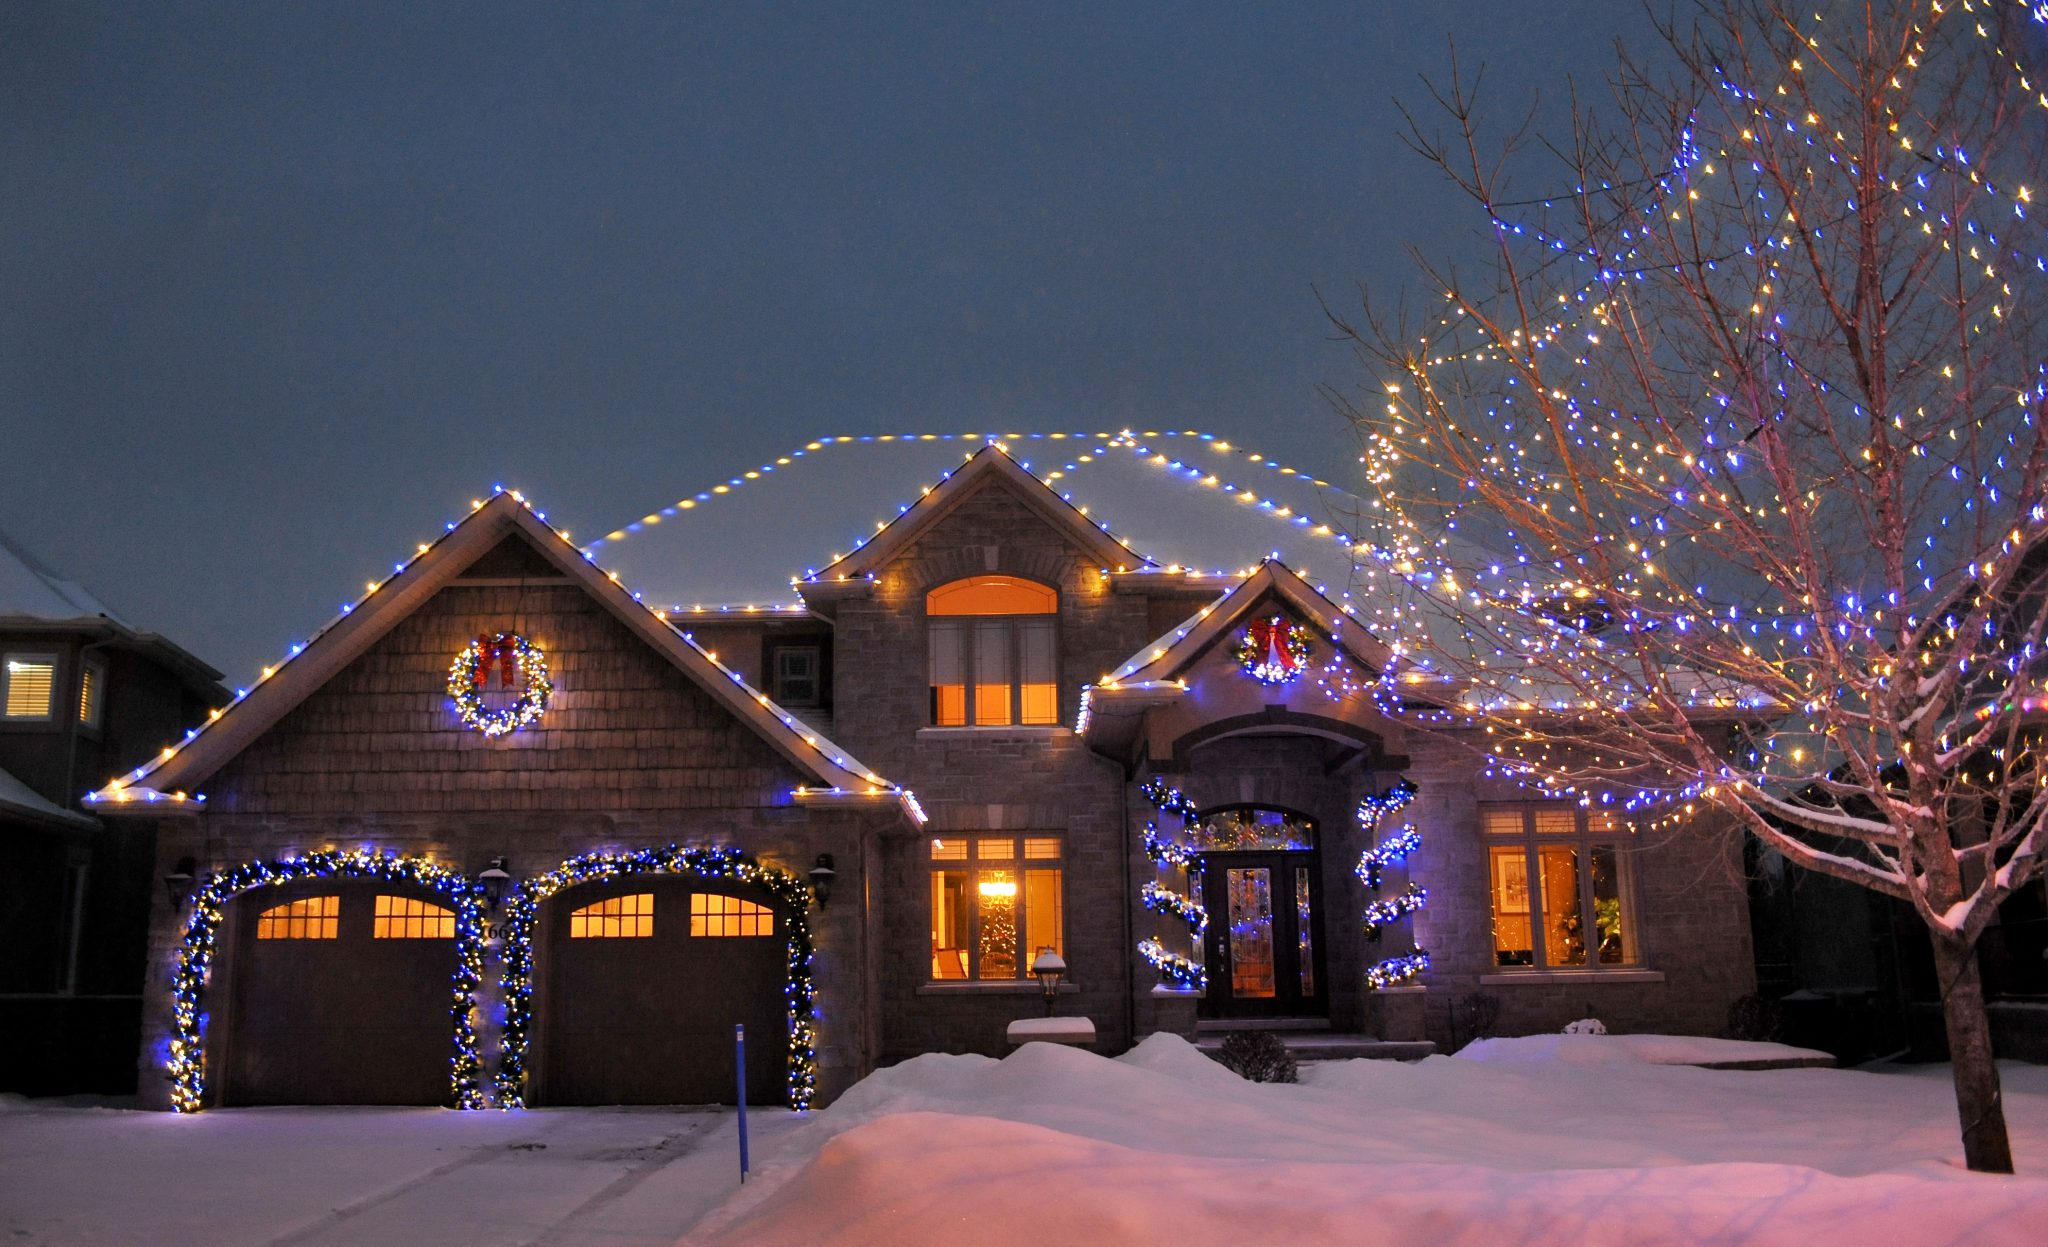
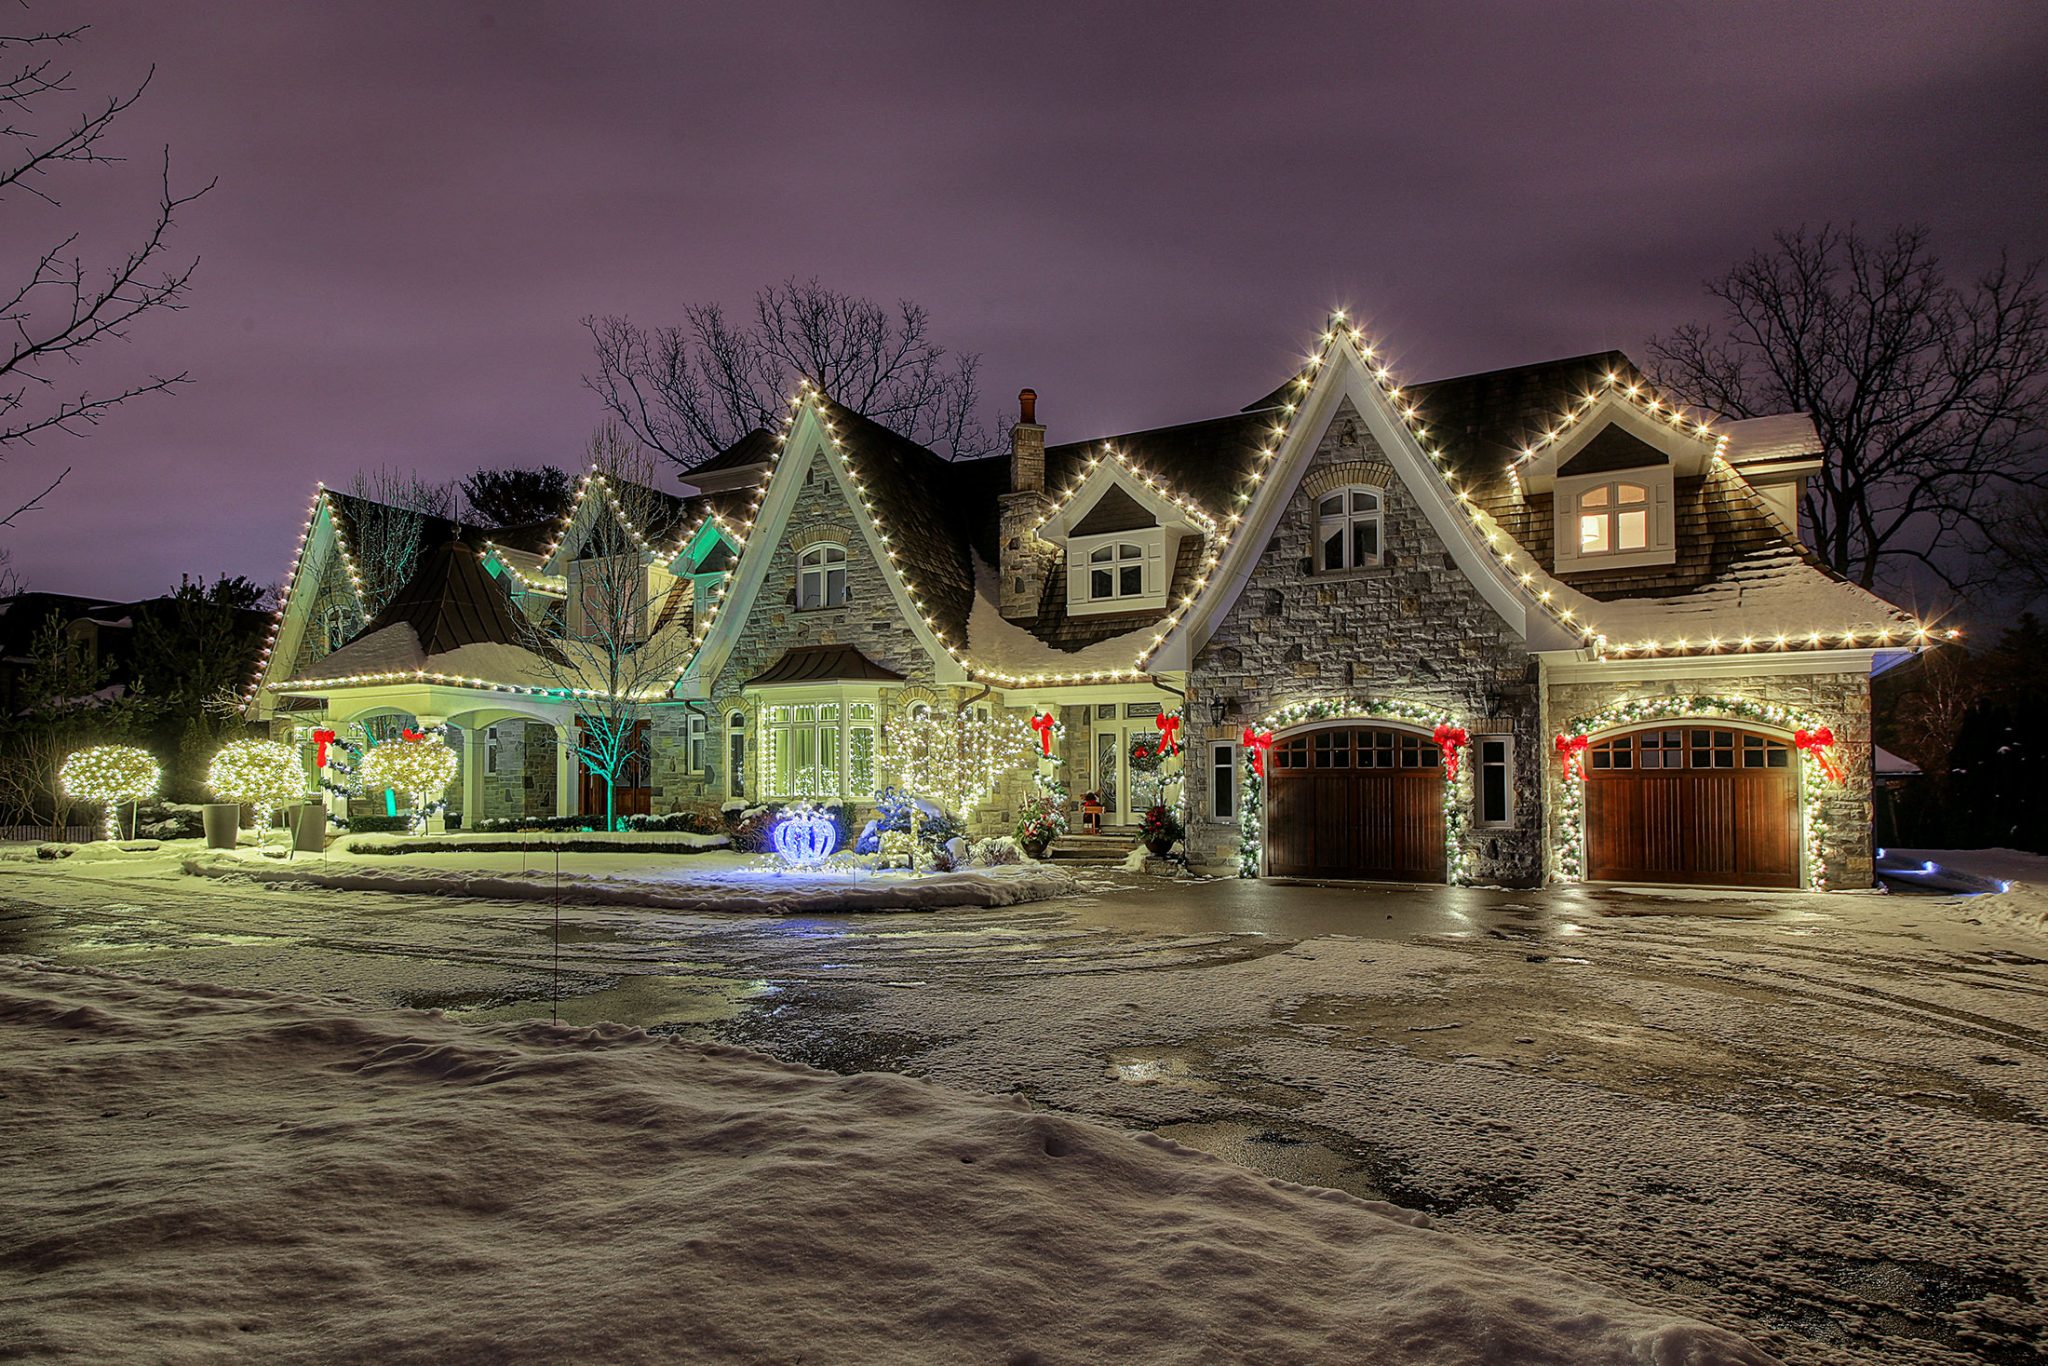
See how the image above of the blue house the lighting highlights the pathway to front door and outlines the shape of the house with roof line accents.
You will actually need this for reference in future years when you want to re-install your lights, so even though the sketch should be simple, be sure to include measurements, especially of roof lines, and include the number of strings of mini lights you end up using for items such as trees and bushes.
Keeping careful track of the resources you use and where they are placed will save you dozens of hours in the future trying to recreate the amazing display you create this year. You can also add new lights on to your plan in subsequent years. You may need to make multiple pages, one for each side of your home if doing more than one side.
In a previous article, I discussed some basic lighting principles for the type and quality of lights to use. I won’t be repeating that information here, so if you need some guidance, be sure to check it out.
Lighting Components
In order to design and decorate like a pro, you need to stop buying your lighting supplies at the box store, and use very simple, slightly more costly, commercial lighting supplies.
The trade off in long term value is well worth the additional cost as professional grade supplies tend to be more durable, and provide way more flexability.
Professional lights are very simple to use. You might be wondering, “How do they get those roof line lights to fit so perfectly? The answer is, the light string is custom made to fit the eve, and I will share the secret with you so that you can do the same thing on your home.
Begin by Accenting Your Home
Roof Line Accents
The image here shows basic wiring components you will need to start installing your custom layout.
Most roof accents are done with a c7 or c9 bulb size, with bulbs spaced every 12 inches. The image here from Ewing.com 2019 light supply catalog shows what the pros use: socket wire and blank wire

Commercial Wire and Connectors, Ewing.com
This allows you to buy bulk wire and cut the wire to the exact length you need to fit an eve, just like what you see in the picture. Then, using the blank wire and male and female plugs, you can jump from one area to another, without wasting bulbs. This is why box store lights aren’t the best to work with since they come in pre-lit lengths and are not as easy to adjust.
Hanging Lights
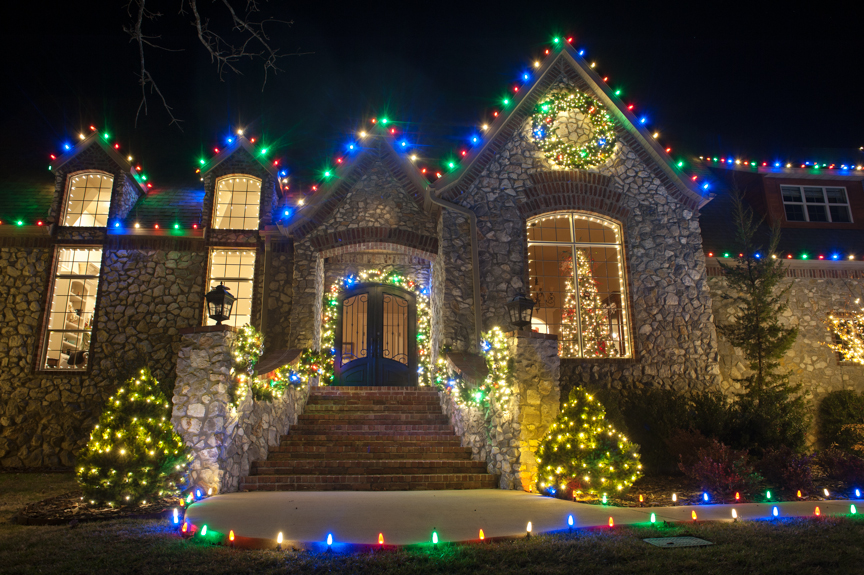
In this image, I zoomed in on the A-frame. At the peak, just above the wreath, you’ll notice there is a light right on that point.
Start your light string in the center at this point. Run your bulb wire down to the left and right, then trim the wire as needed with a pair of wire cutters.
Attach male and female plugs at either end of the the bulb wire. This is where the blank wire comes in. Use the blank wire to create jumper cords that go from one section to another. At the bottom of the A-frame, on the left, you can barely see the jumper cord that connects the frame to the eve below.
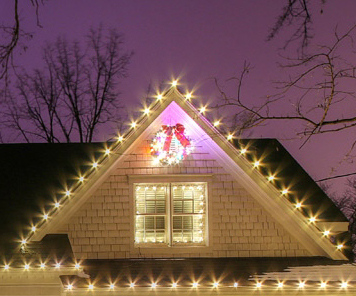
This is how you get perfectly fit trim, eve, and facia board lines. You can also use a wire tee, say from the peak of the A-frame, to run a short jumper cord down to the wreath and the window.
That’s also the beauty of of using LED lights. It is easy to create one continuous circuit all the way around your home with only a single plug in point.
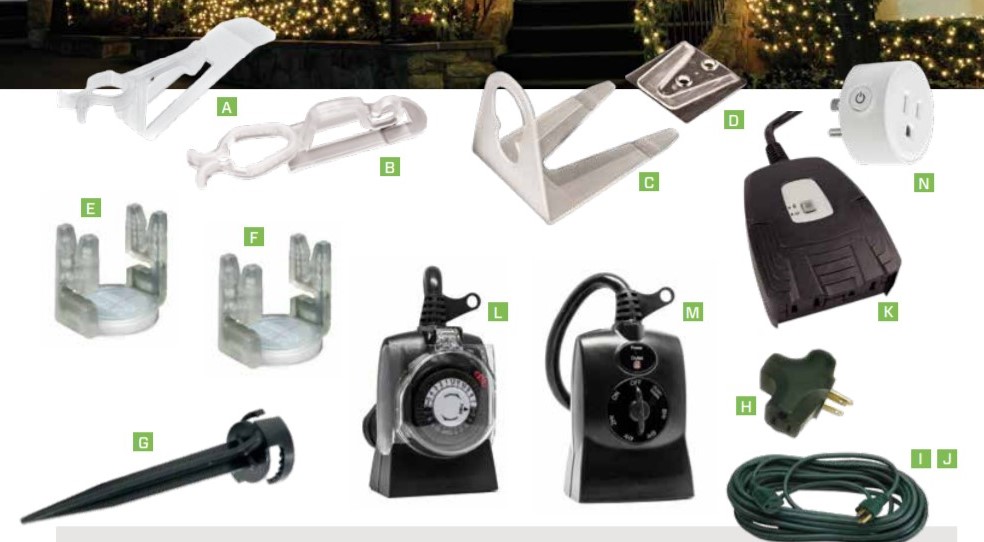
When you want to attach your lights to the roof, you can easily attach the lights without any tools by using one of the clips in the second image (a, b, or c). All the clips are designed to attache to your shingles, and I prefer the style in option C because it points the light out and down (facing the observer) which tends to be a little better when using LED. Simply attach the clip to the bulb on the bulb wire, and slide it under the shingles. Gravity and friction do the rest.
Selecting Your Color Pallet
When I was a kid, my dad and I went crazy with lights. We had every color thrown all over the yard, and my favorite was the big, incandescent c9 multicolored twinkle bulbs. What a stunning display. But something strange happened as I got older, I began to shift away from color towards preferring white.
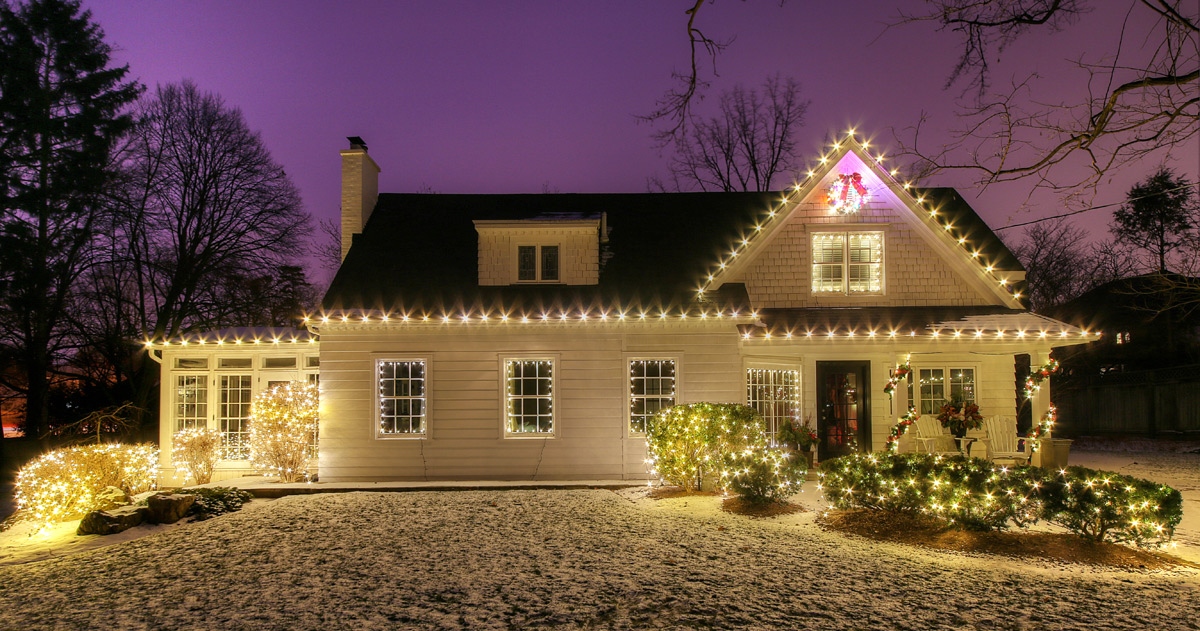
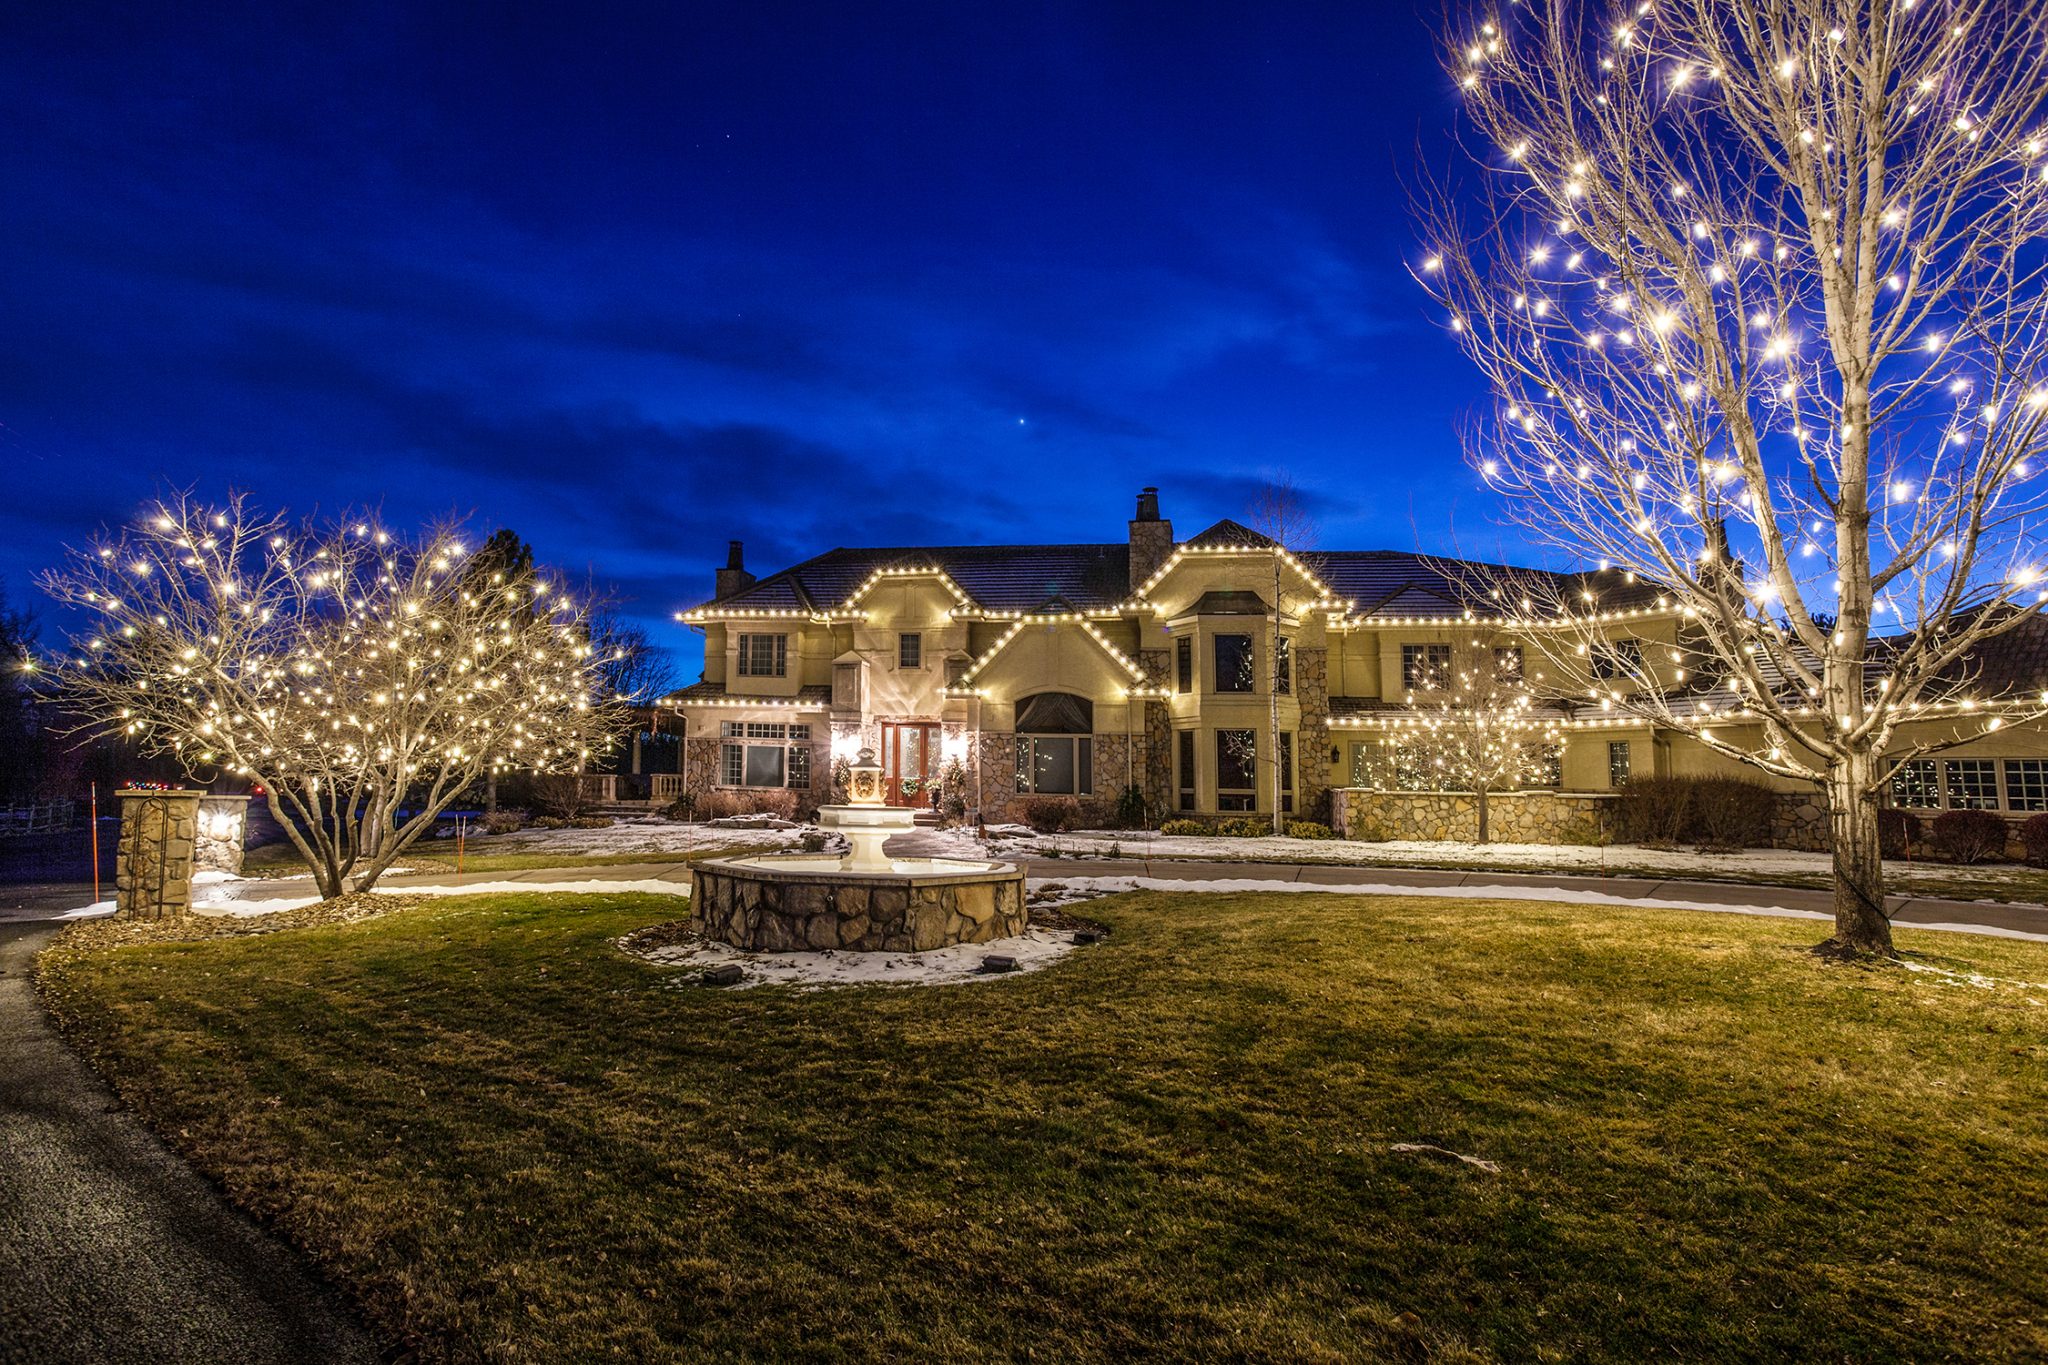
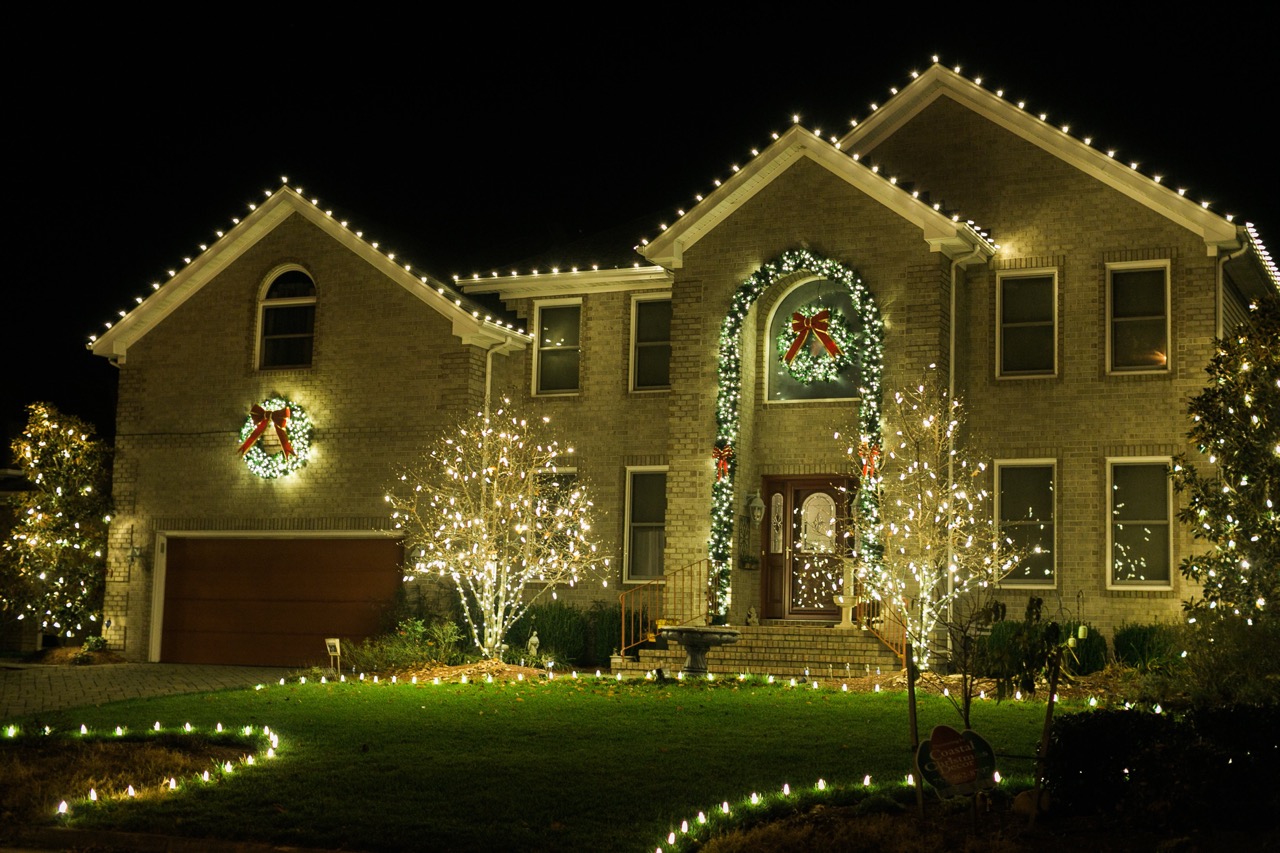
So I put these two images here so that you can get a feel for how color and clear lights look on a home. It all comes down to preference, and for many people, who use lights as a way of making fond memories that last lifetimes with their children, multi-colored might be more appropriate. And for others who simply want to be bathed by warm light on a cold Christmas night, you may prefer the clear lights instead.
You might be thinking that LED lights typically stink when it comes to making warm colors, and for the most part, you would be right. But then again, that’s the great thing about using commercial quality lights. They make cozy warm LED lights that look just like incandescent bulbs that used to rule the market a few years ago.
Wrapping Trees
Branch Wrap
Branch Drape
C9 Branch Wrap
Nothing really complete a display like a well-wrapped tree. There are three basic options, and each depends on preference. I favor the use of mini-lights to wrap a tree tightly, as in the branch wrap image. Basically, tight coils of mini-light wire are wrapped over and over around the trunk and up to the branches.
You have to be careful when doing this, however, because even small trees such as the one in this image, can easily use 1,000 lights or more, much more, depending on the size of the tree and number of branches being wrapped.
Again, use blank wire to run a jumper cord up the tree to the first branch fork. Let that be the central plug-in area of your tree. From there you can plug in your commercial grade mini-lights and wrap the tree down to the ground.
For small trees like the one in the image here, plan on at least 200 lights for the trunk, and at least 100 lights for each branch you want to wrap.
There is another mini-light option that can save some money, but mostly it saves a lot of time. That is draping lights on the ends of the branches, kind of like a lot of people will do with their Christmas Trees. Personally, I don’t think the end results looks quite as nice, but considering that it can take a couple hours to wrap a small tree and maybe 15 minutes to drape a few hundred lights, there is a definite pro/con trade off happening there.
The last option, and in some ways, one of the coolest, is using c7/c9 bulbs to light the tree. This is done much the same way as wrapping mini-lights, but the effect is strikingly different. Get a few twinkle bulbs to mix in and you will have a stunning display.
Ground Lights
Ground lights are an essential way of bringing your home and light display right up to the street for neighbors observe and admire. It’s a great way of taking a house that is situated back off the road a bit and bringing it up close.
This image shows how the use of the ground light adds texture, contour, warmth, and path lighting for the observer.
Ground lights are held in place by riser stakes like the one labeled G in this image. These takes come in different lengths, allowing you to place the lights right on the ground or elevating them to create a draped effect.
Be careful when placing lights next to the driveway as they can easily get chewed up by a snowplow or snow blower.
Timers and Remotes
Finally, after you’ve gone to all the trouble to create a stunning display, what could be more annoying than forgetting to turn it on and off every night. Don’t take the LED lights for granted, just because they are using a trickle of power compared to your old lights, doesn’t mean you can get sloppy with leaving them on 24/7.
Spend the extra few bucks to get a good photocell timer. If you used your sketch correctly, you should have been able to map out all your connections around the property and should be able to run all your cords to one simple location. The real challenge is if you can power everything in a single loop with 1 cord using jumpers from your main line to all your trees and bushes.
Either way, a single cord or power strip can plug into your timer which will automatically come on when it gets dark out, and you can program to run for 4-8 hours through the evening, turning off around midnight or so.
Let’s be honest, just because you think your house looks fantastic, doesn’t mean your neighbors want all that light flooding in their windows all night long keeping them awake. So be a good neighbor, don’t waste power, and turn your lights off around midnight.
Wrapping Up
We want to wish our readers a safe and Merry Christmas. I really hope you found the content here to be helpful and spur your imagination for the potential your home has to look stunning.